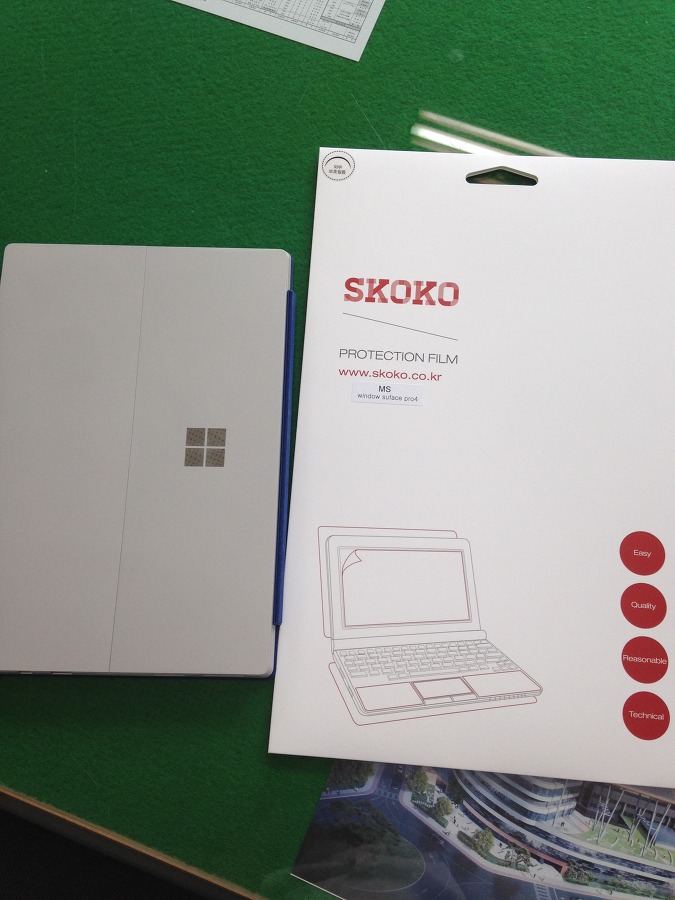
The price was 12,000 won - at the café group-buy price.
The quantity is 2 sheets.
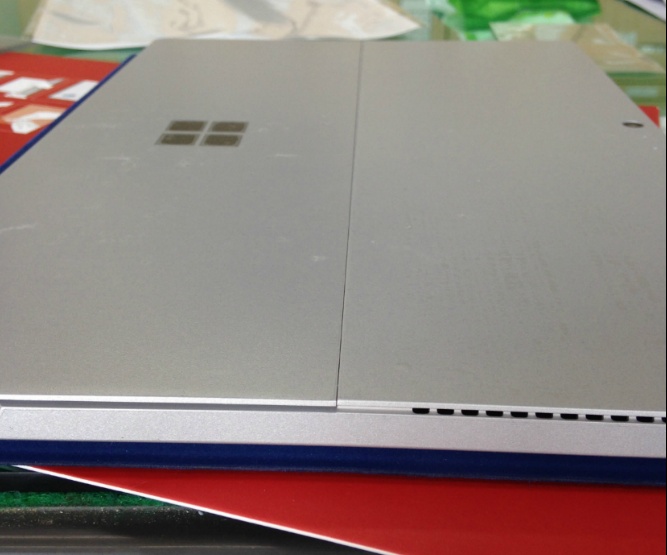
I'd thought the difficulty of applying it would be 'high' given the size of the Surface Pro 4, but it wasn't. For the 'top panel' part of the back, that is, the camera part, you just align it to the lens and stick it on, and the bottom panel that serves as the kickstand gets covered if you apply it along the long edge as the reference.
What to prepare: wet wipes, tissue, a 30cm ruler - the 30cm ruler is very handy for removing air bubbles when applying the rear film. It's a must-have because you can apply it while pressing along the long edge in one go. If you start applying from the short side, it's easy at first but later it's not easy to correct the misaligned angle. So I recommend applying the 'long-side edge' well at the start.
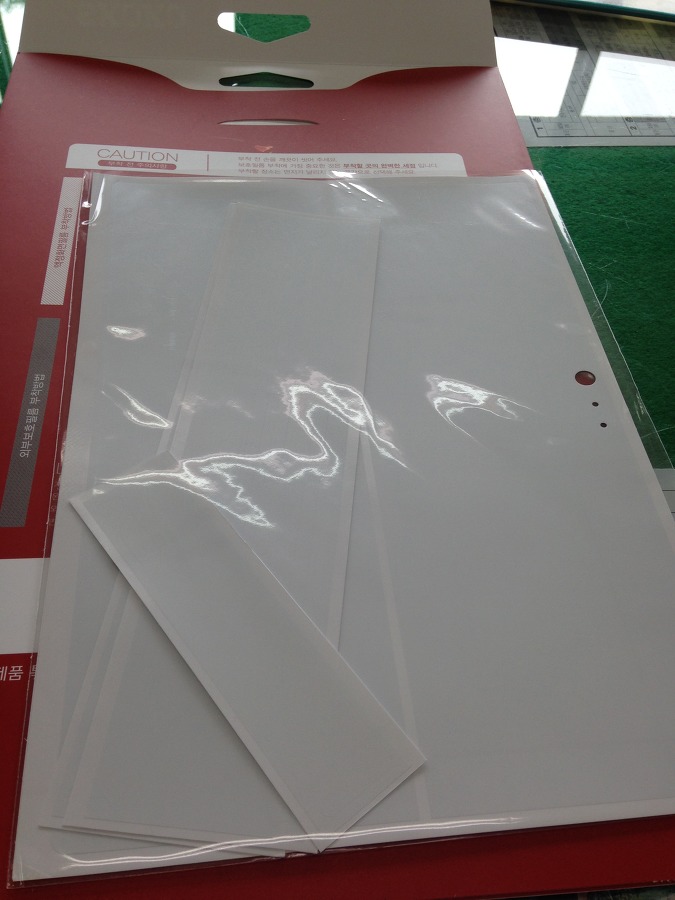
The quality (thickness) was fairly decent, but in the cutting, the film for the power input part had a slight error, and the part for the rear camera also has a slight size error. It can't fully cover the back. It looks like roughly 1mm is left over, but for now the parts that are likely to get scratched often are covered, so I'm satisfied with this.
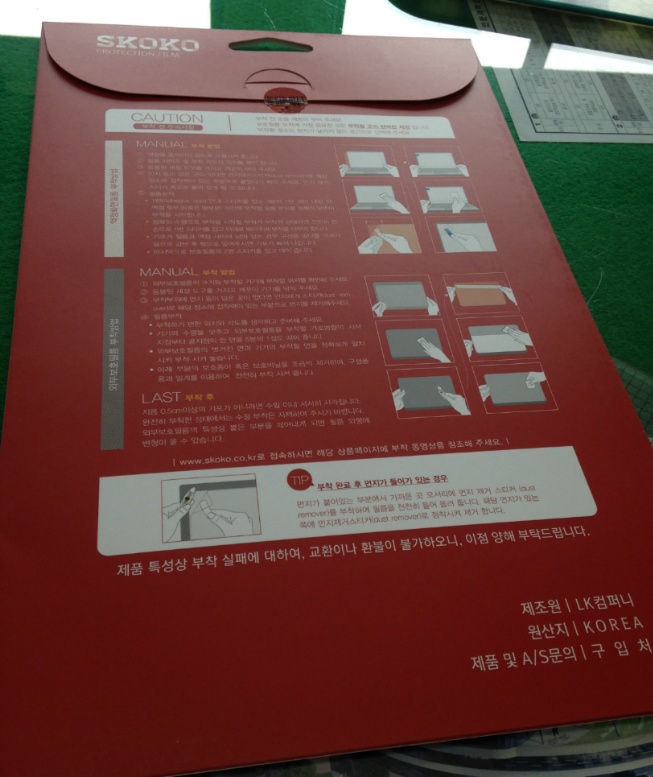
The procedure is as follows.
1. Wipe the bottom panel and the area to be applied with a wet wipe.
2. Wait for it to dry / wipe it off with tissue.
3. Remove any possible dust with the enclosed sticker.
4. Peel off the film and apply it - using the ruler - the side films don't need that. They're so small there's hardly any chance of a mistake.
Since I just applied it, if it gets dirty after a few months - that's called yellowing - I'm considering a design skin.
Comments 0
No comments yet. Be the first.